Simplified Guide To Setting Up An Author's Newsletter Using MailerLite
From Concept to Execution: Simplifying Your Newsletter Journey with MailerLite

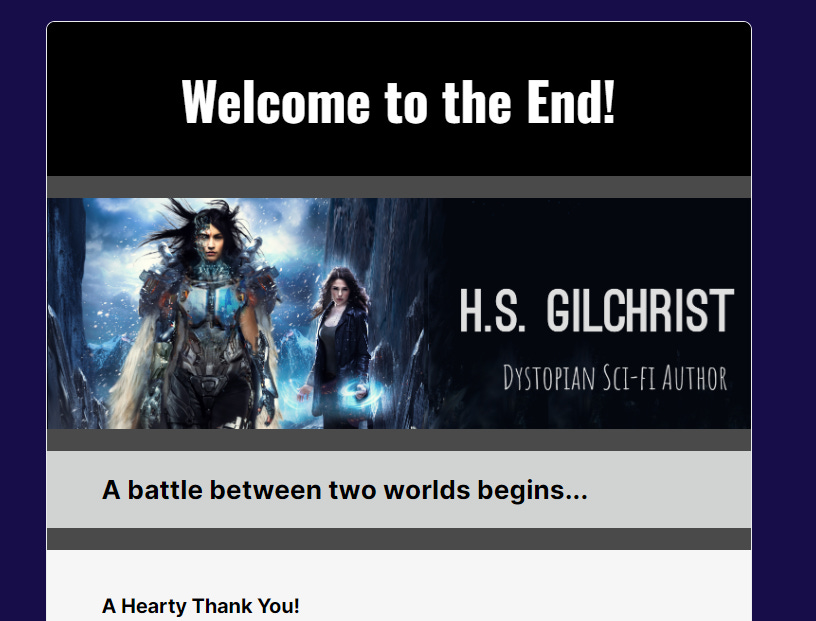
As I mentioned last week, my “fan” newsletter will be starting up in March 2024, following the February 5th launch of THE END OF THE WORLD. Setting up a proper author's newsletter has been a goal of mine for some time. Initially, I hoped Substack would meet this need, but I've found that Ruins & Writings is more suitable as a blog (yes, I admit, I'm long-winded!). For shorter updates, fan news, and promotions, I'm turning to a well-known email marketing service: MailerLite.
There are numerous excellent tutorials available for setting up MailerLite, and I'll be making extensive use of them (hence the lack of screenshots in this post). However, during my own setup, I encountered two challenges: 1) confusion about what exactly I needed as an author, and 2) the need to consult tutorials outside MailerLite's prescribed sequence to find what I required.
My aim here is to provide fellow authors with an “order of operations” for setting up a MailerLite author newsletter, complemented by links to MailerLite tutorials for additional details.
Why MailerLite?
Free for under 1000 subscribers
Ease-of-use, supported by numerous user-friendly tutorials
Plugin availability for my WordPress-hosted website
Newsletter design that is both simple to implement and visually appealing
Setting Up Your MailerLite Author Newsletter
Step 1: Purchase a Domain Name
Buy a domain name. If you already have a website, consider using its domain name.
For example, I use hsgilchrist.com, purchased through WordPress. Domain names can also be acquired independently from websites, with popular providers including Domain.com and Bluehost.com.
Step 2: Purchase an Email Address That Uses Domain Name
Unless you're hosting your own email server, you'll need a third-party email account using your domain name. This service is often offered by web hosts or domain registrars, but can also be sourced from other providers (who allow you to use your own domain name, often at additional cost). I chose Office 365 for mine.
Step 3: Sign Up For a MailerLite Account
Sign up here at MailerLite.
Note: Your MailerLite account doesn't have to use your new domain email address for sign-up. You can specify a different sending email later within MailerLite.
Video Tutorial: Create a MailerLite account and get approved
Step 4: Configure MailLite Account settings
Company Profile: Fill in your company/author information.
Default Settings: These settings apply to all new campaigns/newsletters by default, but can be customized individually. Focus on settings that reflect your brand, such as sender name and email, brand settings, and social media links.
Domain: Add your domain to MailerLite. Quickie instructions are written below, followed by links to more detailed video tutorials.
My Quickie Add Domain Instructions
In MailerLite, go to Account Settings > Domains > add an email address that uses your domain name > Save
In your email account, open the verification email from MailerLite and click the verify link
Return to MailerLite > Account Settings > Domains > find your listed domain and click Authenticate. A screen will flash up with your DKIM and SPF records. Leave screen open.
Go to the site that hosts your domain name (ie. your domain registrar or website host). Add the new records to your DNS records. The actual “how to” varies by registrar.
Return to MailerLite. The Authenticate window should still be open. Click Check DNS Records button. It took about 15 minutes before my registrar updated my records, but some providers can take 24 hours. If the Check DNS Records is successful, the window will close and your domain name will have the “Authenticated” status.
Video Tutorial - Authenticate Domain
Step 5: Set up Email Notifications
Choose email addresses for notifications about new subscribers and billing, which can differ from your newsletter sending email.
Account Settings > Email Notifications > Subscriber notifications / Billing notifications
Step 6: Set Up Subscriber Groups
Establish at least one group for your subscribers and add members to it.
Subscribers > Groups tab > Create Group > name Group > Create
Detailed Instructions - Create a Group
Video Tutorial - Adding / Importing Subscribers
Video Tutorial - Subscriber Management Overview
Step 7: Customize Subscribe / Unsubscribe / Preference Pages
These pages are what your subscribers will see when they opt in to your newsletter, decide to unsubscribe, or wish to adjust their subscription settings. It's important to tailor these pages to align with your brand's aesthetic and message.
Account Settings > Subscribe settings > pick which opt-in email to customize > Edit
Account Settings > Unsubscribe settings > Edit Content
Account Settings > Preference center > Preference form > Edit
Step 8A: Set Up Subscription Landing Page
A landing page is a webpage hosted by MailerLite that contains your sign-up form. If you already have your own website, you might choose to embed the sign-up form on one of its pages. I opted for both approaches.
Sites > Landing Pages > Create Site
Video Tutorial - Create a Landing Page

Step 8B: Embed Subscription Page
If you own a website, embedding the subscription form directly on it can be a great option. MailerLite offers a tutorial on one way to accomplish this:
Video Tutorial - Create an Embedded Form
Using a plugin designed for your website can be another effective method. As a WordPress user, I’ve found the MailerLite plugin to be a useful tool. It's important to note that each web host and plugin might have a slightly different setup process.
To use the WordPress MailerLite plugin, I needed to copy the MailerLite API key from Integrations > API > Use and paste it into the plugin settings on my website. While my plugin offered comprehensive setup instructions, if you encounter difficulties, try searching for "Embedding MailerLite Form in [your web host]" for a range of tutorials that can assist you.

Step 9: Set up Campaign
Campaigns are the core of your newsletter strategy, encompassing the various newsletters you intend to distribute. These can be dispatched either manually or on a scheduled basis.
Campaigns > Create Campaign
Note: While the following tutorial provides excellent guidance, be aware that the process for setting up a welcome newsletter, which it details, is distinct from the setup required for automated emails. Initially, I misunderstood and thought the welcome newsletter created through this tutorial could be integrated with the Automation feature (i.e., automatically sending a welcome email to new subscribers). However, setting up automated emails is a separate process in MailerLite.
Video Tutorial - Quick Start Campaign
Step 10: Set Up An Automated Welcome Email
When people subscribe, they will automatically get an email welcoming them to your newsletter. This email should lay out what subscribers should expect to receive in your subsequent newsletters (ie. promotions, author stories, etc).
Video Tutorial - Automation Overview
Step 11: Turn Double Opt-In On/Off (Optional)
By default, the double opt-in feature is enabled.
On one hand, double opt-in helps prevent spambots from adding email addresses to your active subscriber list. On the other hand, it adds an additional step for genuine subscribers. Considering that I receive email notifications every time someone subscribes and my list is relatively small, I believe I can manually monitor and manage the list, so I disabled it. Ultimately, whether to use double opt-in is a personal choice.
Account settings > Subscribe settings > toggle Double opt-in for API and integrations to OFF (or ON).
Detailed Instructions - Double vs Single Opt-In
Step 12: Test Campaigns and Automations
Utilize your personal email to test subscribing to your newsletter or to send out campaign emails. Keep in mind that MailerLite permits resubscription only once every 24 hours, so having access to multiple email addresses for testing purposes can be helpful. This approach ensures that you can thoroughly check and fine-tune various aspects of your campaigns and automations before they reach your audience.
Conclusion
I hope that by breaking down MailerLite's newsletter creation process into more manageable segments, I've assisted some of you in embarking on an essential aspect of our collective publishing journey. The transition from being a writer to becoming a community builder is often challenging, so let's support each other as we climb this hill together!
Wishing you a Happy New Year and successful mailing adventures!